
Custom Terrain Board Part 3
In this post I'll cover the extensive adventure that was painting the terrain board. At this point I got a lot less good about taking pictures. Before I undercoated everything I added more crackle paste back to the crater to give it a different texture, and in a few other places. I loved it in the crater, but other places I thought it looked like what it was, a paste spread over sand.
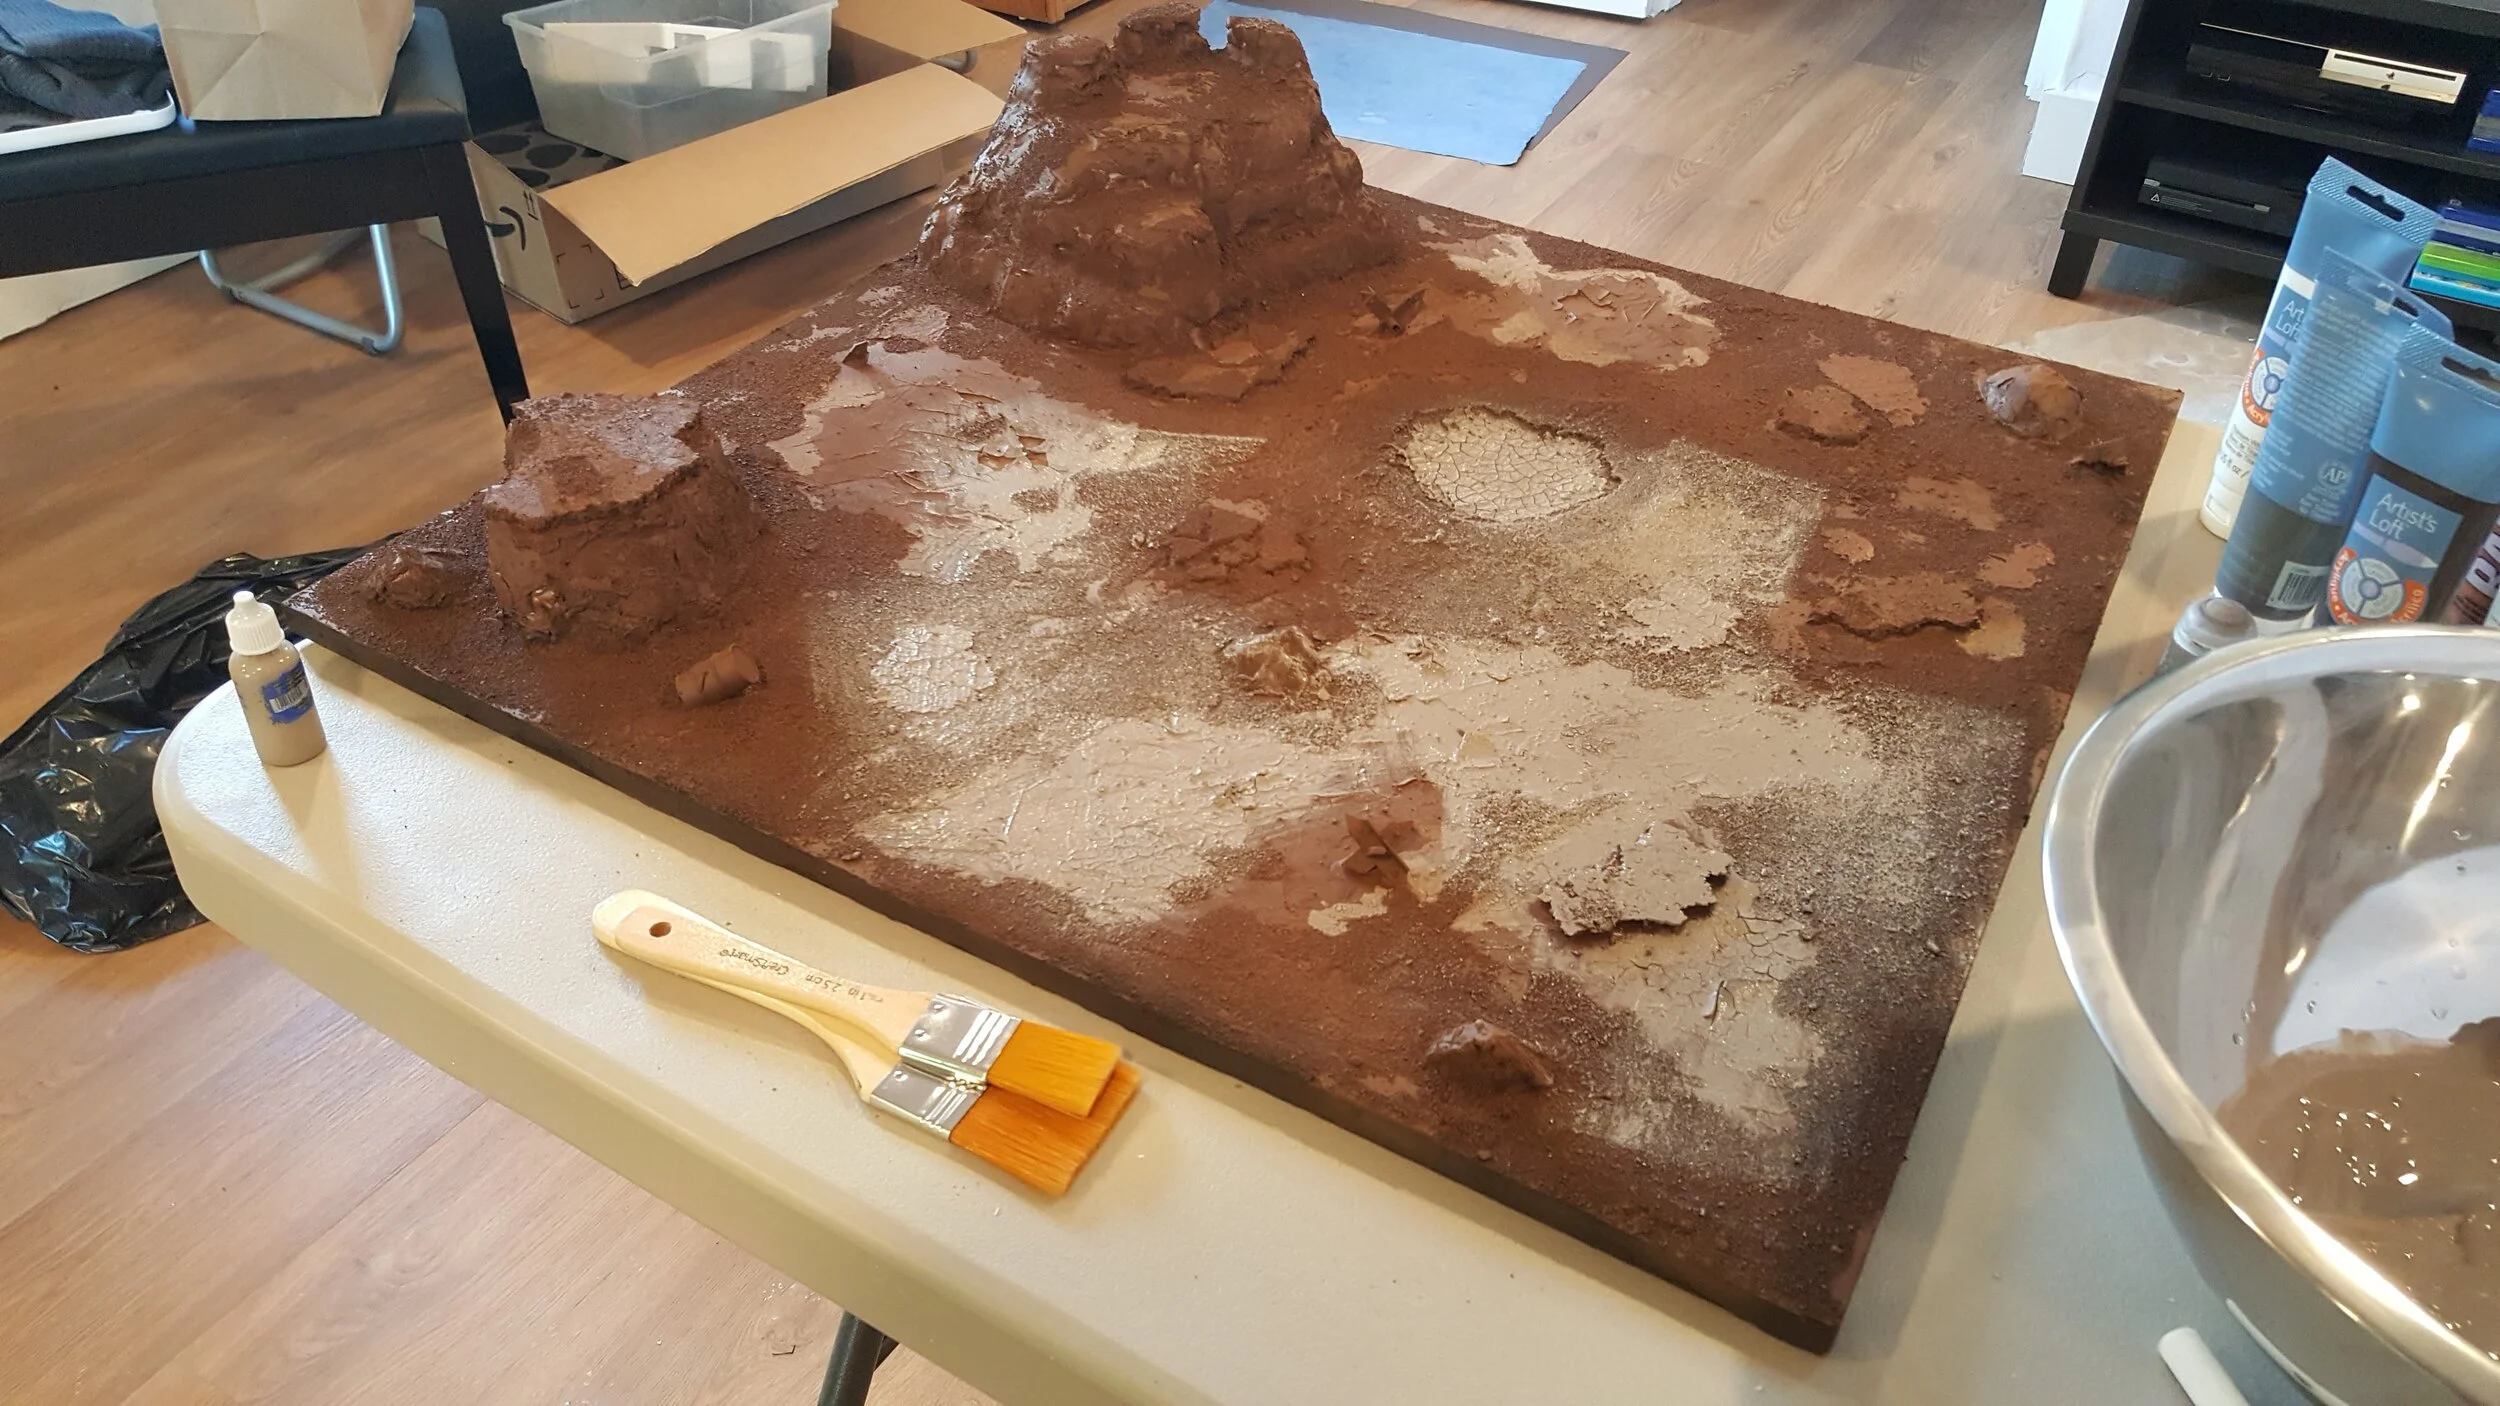
After the sand I undercoated by spraying the whole board with Mournfang Brown GW undercoat spray. This used about half a can. I tried to use cheaper paints where I could, but I ended up dropping for some paints I could predict the results on for several parts.

For some reason these pics look like I'm painting the board white, but in actuality I mixed a titanium white (it's like a bone white) with raw umber and a slight bit of burnt sienna to get what I hoped was a more olive beige. I was trying to match Baneblade Brown, which is what I use for the bases on my Black Templars. I was hoping to match the two as well as I could. As you'll see later, I didn't do a great job of this. I painted the whole board with this color, leaving some of the darker brown showing in places, mainly on the sand.

Here I sucked it up and used Seraphim Sepia, and separately some Vallejo Sepia. The two didn't match at all, with the Vallejo being much darker. I ran these both through my airbrush to make the most of the colors, but used most of two bottles.
In the next, and final installment, I'll show what I did to course correct from mistakes and finish details.